Before you start
This section is for setting up the person who will wear the watch. If you are a Carer only, you can skip to Carer setup. This setup usually only takes a few minutes.
- 1
For those being cared for: Ensure you have charged your watch, phone and have access to your email. Also ensure you have connected your watch to your phone as per the manufacturers recommendation (eg. Garmin Connect) prior to starting to setup AiCarer.
- 2
For Carers: Ensure you have charged your phone, and have access to your email
- 3
Setup takes about 10-15 minutes for a person being cared for, and 2-3 minutes for a carer.
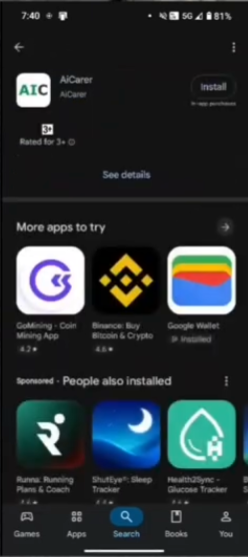
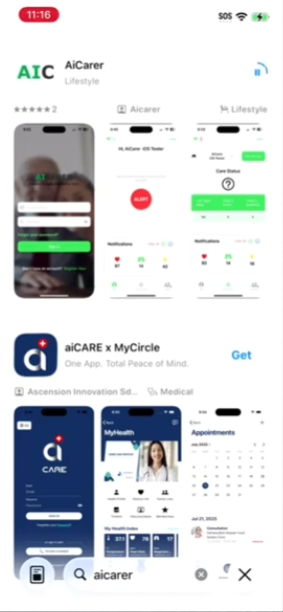
Step 1: Download the AiCarer app
Open the App Store on iPhone or the Play Store on Android and search for AiCarer. Check that the app icon matches the one shown below, then download and install AiCarer on your phone.
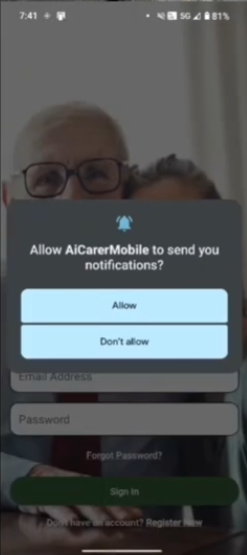
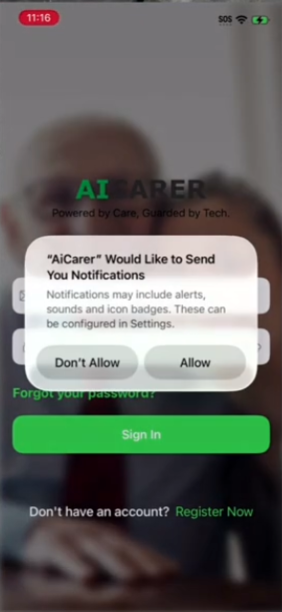
Step 2: Open the app and begin
When you open AiCarer for the first time, please allow the security and permission messages that appear. These may look a little different depending on your phone.
If you already have login details, sign in and move to Step 4. If you have a partner code, tap Register Now to begin. If you do not have a partner code, please contact AiCarer at connect@aicarer.com.au.
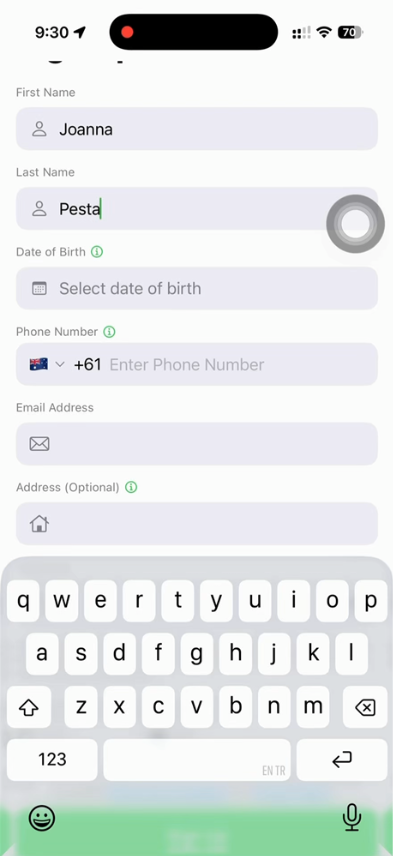
Step 3: Register Your Details & Verify
Enter your details as requested in the app. Please choose a password you will remember. You can reset it later if needed.
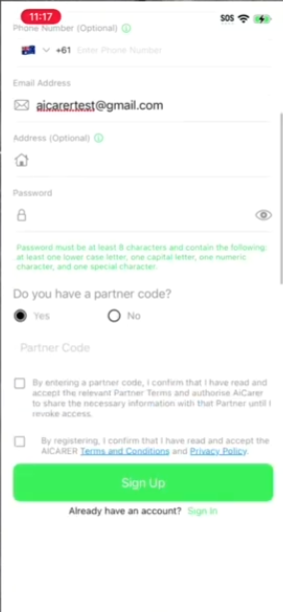
your partner code registers you with the correct organisation and helps make sure you are not charged incorrectly. If you do not have one, reach out to AiCarer on connect@aicarer.com.au.
Review the Privacy Policy and Terms and Conditions, check them if you agree, then tap Sign Up.
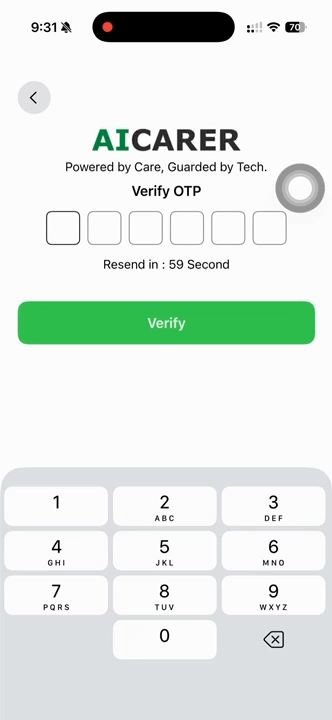
AiCarer will send a one time password to your email. Please check your inbox and also your Junk or Spam folder if you cannot see it. Enter the code in the app, then tap Verify.
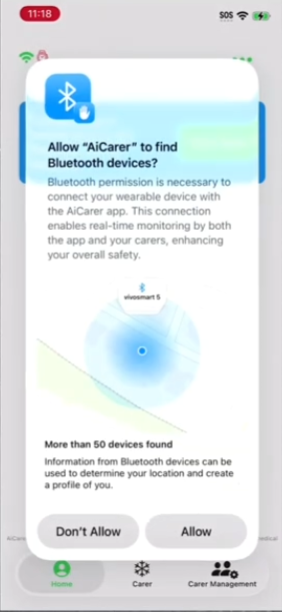
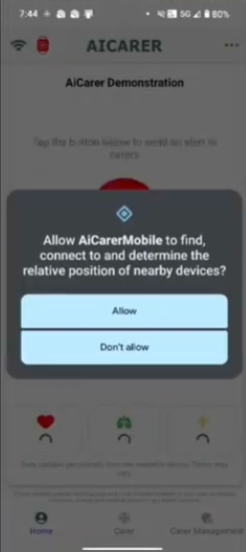
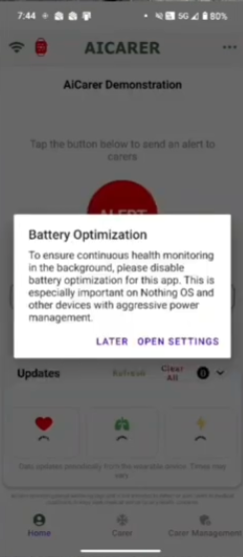
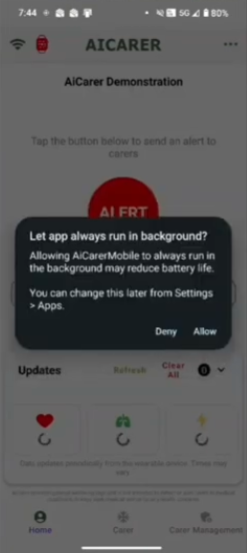
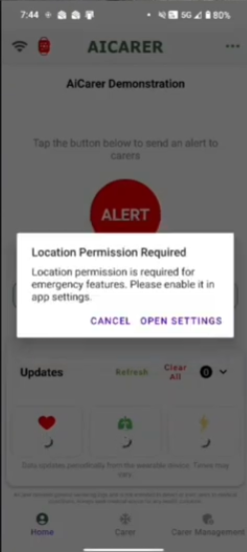
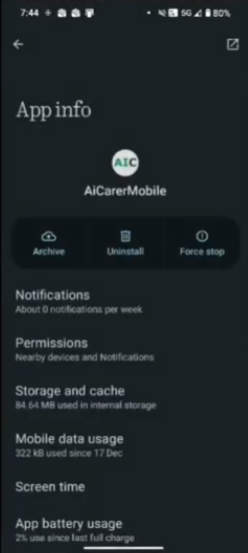
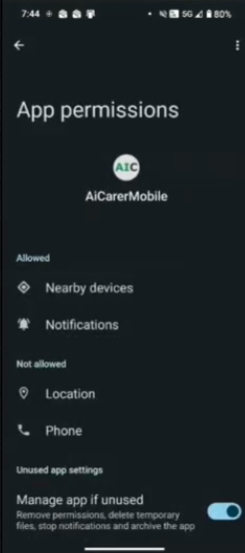
Step 4: Allow permissions
If you are the person wearing the watch, it is very important to allow all requested permissions.
Location permission on Android is especially important. If Android asks you to open Settings, tap Permissions, then Location, and choose Allow all the time. This helps AiCarer share location with carers if needed during an incident. AiCarer does not track location all the time. It only accesses location when required.
These screens may look different on different Android phones.
If you are a Carer
If you are a Carer only, most of these permissions are not needed.

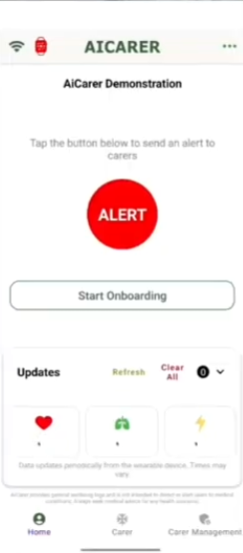
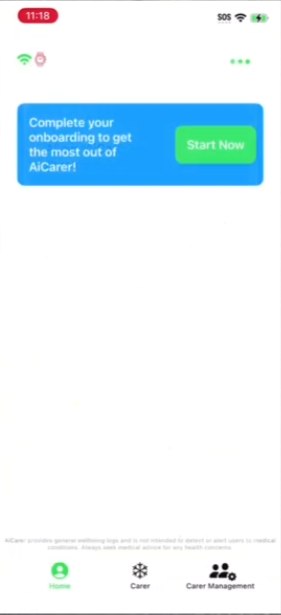
Step 5:Start Onboarding
Choose the role that suits you. Tap User if you are the person wearing the watch and receiving care. Tap Carer if you are caring for someone else. Tap both if both roles apply to you. Then tap Continue.
If you are a Carer only, you can skip ahead to the Carer setup section.
Setup as a User / Both
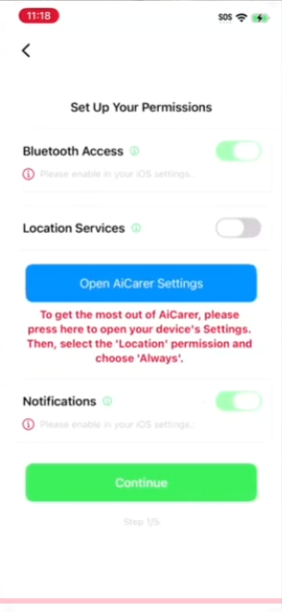
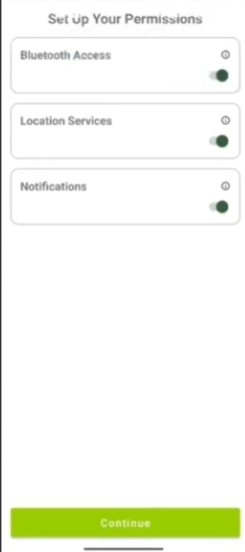
You may now see more permission screens. If you are a User, these are important for the functioning of AiCarer.
- 1
Ensure all toggles are turned on.
- 2
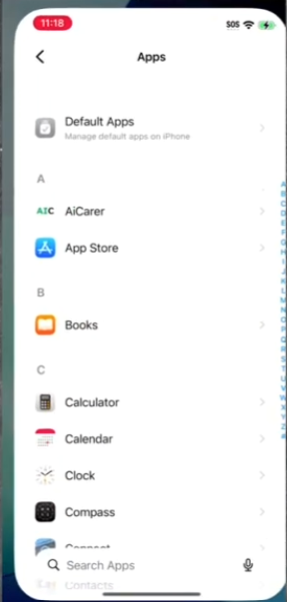
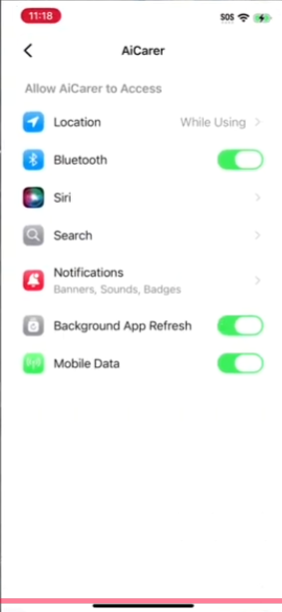
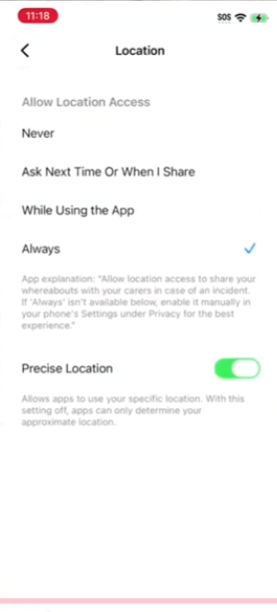
On iPhone: Tap Open AiCarer Settings, then tap AiCarer, then tap Location and change it to Always, and ensure Precise Location is selected. Then return to the app to continue.
If you are a User
If you are the person wearing the watch, allow every requested permission.
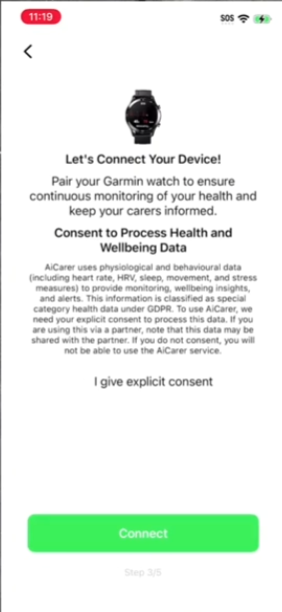
Step 6: Connect your watch
Read the consent information, then tap I give explicit consent. After that, tap Connect.
If asked, choose your watch or wearable type, then tap Next.
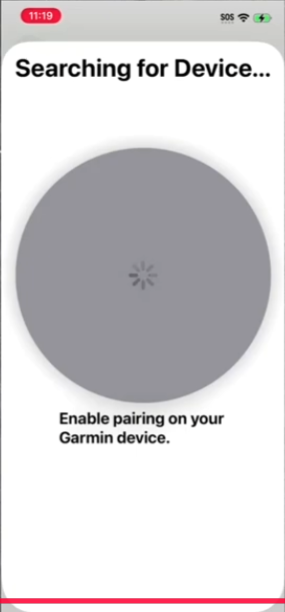
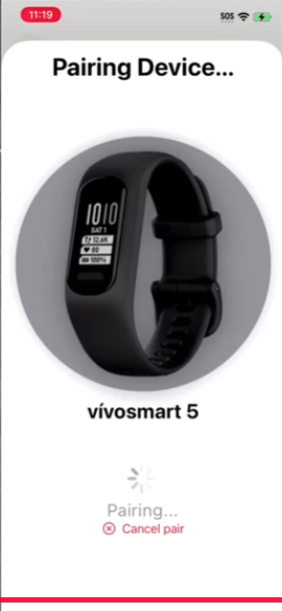
AiCarer will now search for your device. This may take a little time and sometimes may need a second attempt. If the watch is not found, please check that it has already been paired with your phone before trying again.
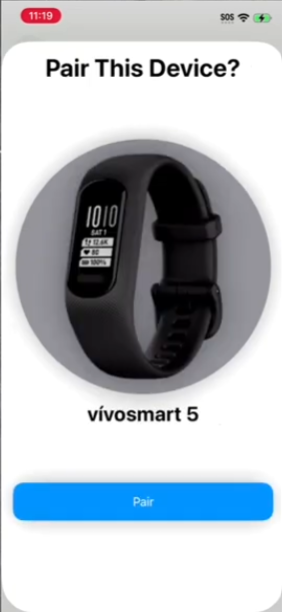
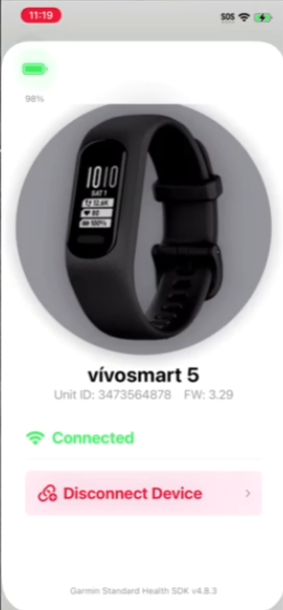
When the watch is found, tap Pair on the screen. Allow the watch time to pair. This can take a few minutes and may need another attempt. You may briefly see the watch listed as disconnected before it changes to connected. Please wait until it says connected, then return to the previous screen.
Tap Next to continue to the step where you can invite a carer.
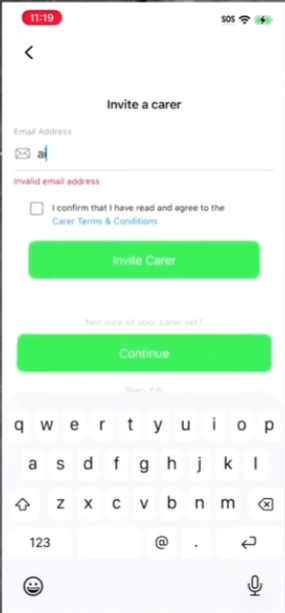
Step 7: Invite a carer
You can now invite carers by entering their email address and accepting the Terms and Conditions. They will receive an email invitation and can then download the app and register.
You stay in control and can later add, remove, or pause carers in the app. You can also skip this step and do it later. Tap Continue when you are ready.
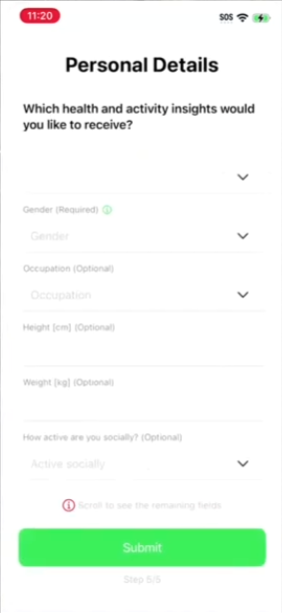
Step 8: Personalise your setup
Answer the questions about yourself so AiCarer can learn your usual patterns and personalise your experience. The more accurate information you provide, the better AiCarer can support you. We do not share your identifiable information without your consent. Tap Submit when finished.
After you tap Submit, you may see payment options, depending on your plan or partner code. If payment is not required, simply tap Continue.
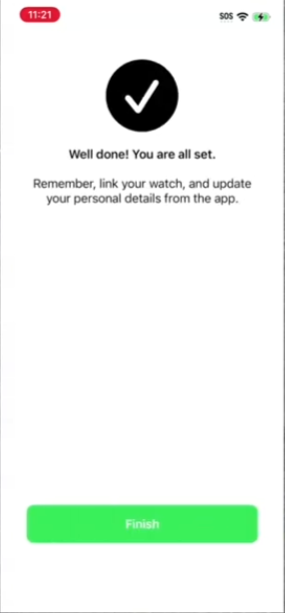
Tap Finish to complete setup.
Wear your watch regularly and keep AiCarer running on the phone. Over time, you will start to see your information in the app. Your typical range may not appear straight away, as AiCarer needs time to learn what is normal for you.

Carer setup
Ask the person you care for to send an invitation to the same email address you used to register with AiCarer (or prior to registering). They can do this during their setup or later from the Manage Carers section in the app.
You will receive an invitation code by email and in the app. Open the Carer section from the bottom menu, tap the + icon in the top right corner, and enter the code. This will connect you to the person you care for so you can start seeing their information in the app.
If you are a Carer
Carers do not need a watch. You only need the AiCarer app, your email, and the invitation code.

Initial Troubleshooting & Notes
Setup complete. During the first couple of weeks, AiCarer is still collecting data and becoming more accurate. Here are a few things to check if something isn’t working as expected.
- 1
The person wearing the watch must keep AiCarer installed and running in the background on their phone.
- 2
If their phone is restarted or turned off, they need to open AiCarer again after the phone turns back on.
- 3
As a Carer, you will receive an offline notification when the app is closed or watch not worn. It will only notify twice during a single day.
- 4
If you are having trouble keeping AiCarer running in the background, additional support tools and help articles are available.
- 5
Did not get the verification code? Wait one or two minutes and check your Junk or Spam folder. If it still does not arrive, ask AiCarer to resend it.
- 6
Watch will not connect? Check that the watch is already paired with the phone using the manufacturer app (for example Garmin Connect), then try again from Step 6.